Easy 10-Minute Chores For Busy Lives
With busy schedules, cleaning your home can get pushed to the bottom of the to-do list.
And, before you know it, you’re spending a good chunk of your weekend cleaning a messy house!
If you want to stop postponing cleaning tasks because of other priorities, carving out small chunks of time during the week can go a long way. There are easy 10-minute chores that will make a difference in how your home looks.
Now, there is definitely a time when deep cleaning is required. However, this focus is on easy 10-minute chores. And, when you have the extra time to do a deep clean, you’ll have less to do, if you keep up with these simple tasks.
1. Clean the Mirrors
Here’s one of the easy 10-minute chores that will result in sparkling mirrors. Start with scanning your mirror for any stains or smudges. Remove these stains with a cotton ball soaked in rubbing alcohol. Then, clean the entire mirror by using a cleaning solution and a cloth. If you prefer a homemade cleaning solution, mix ¼ cup of white vinegar with 2 cups of water in a spray bottle. Shake the bottle to blend the two ingredients. Then, spray it on the glass surface of your mirror and wipe it with a clean microfiber cloth in a zigzag motion. Check out this more detailed process.
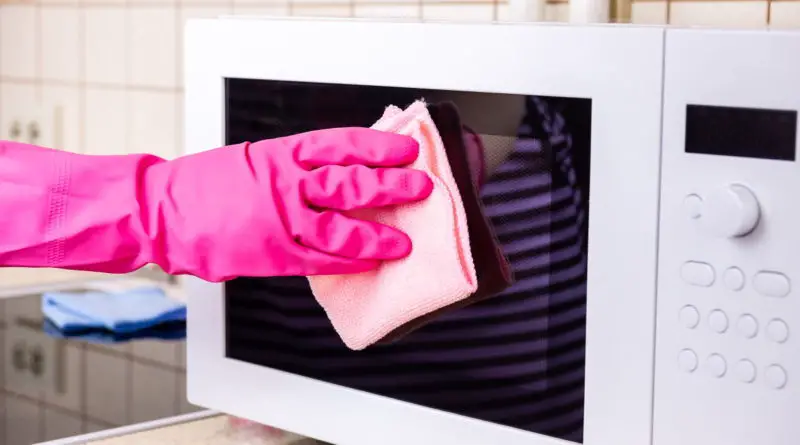
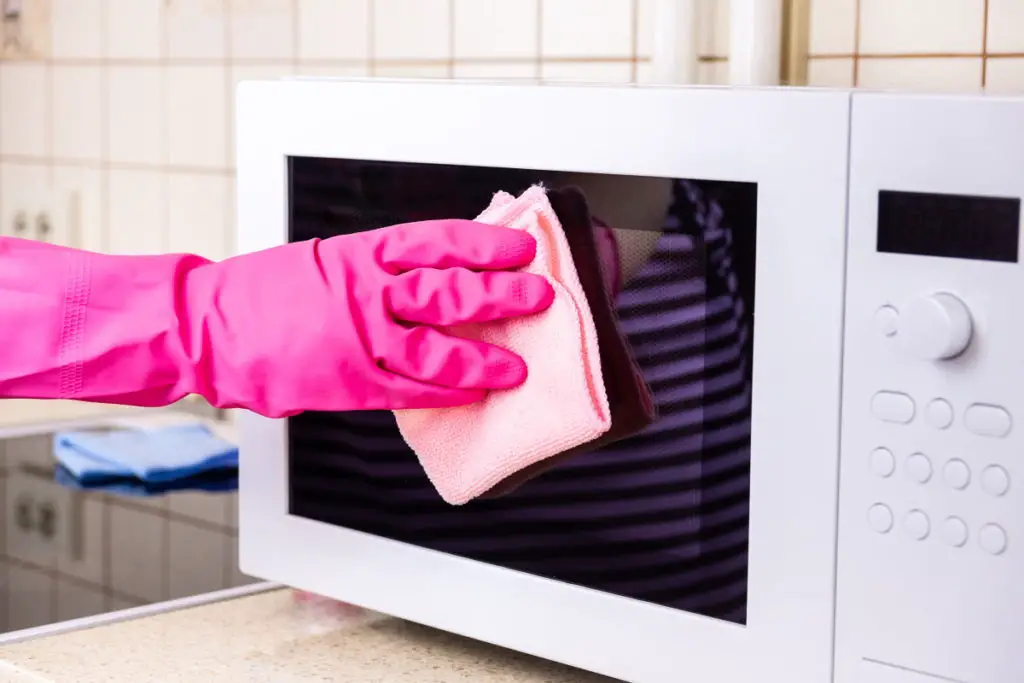
2. Clean Your Microwave
Bacteria can grow from the splattered pieces of food left uncleaned inside the microwave. It’s crucial to scrub these splatters off to prevent contamination.
You can clean your microwave by using some everyday products like vinegar, baking soda, or dishwashing soap. Do not use bleach because it weakens the interior of the appliance and might eventually damage it.
First, mix a cup of water and a few tablespoons of vinegar or lime in a microwave-safe container. Place it inside the microwave and heat it at high power until the mixture boils and steam forms. This will soften the crumbs and stains sticking on the inside surfaces of the microwave. Let it cool for a while before you open the door. Then, remove the container and wipe the inside surfaces with a sponge. This method will also get rid of the odor inside the microwave.
Of course, the exterior of your microwave should also be cleaned to keep it visually appealing. For this task, a simple and easy water-vinegar mixture can get the job done. Spray the mixture on the exterior, except the parts that expose the electric wiring, and wipe it with a cloth or sponge.
3. Vacuum One Room
Vacuuming one room is less daunting than doing your whole house in one day.
Some quick vacuum tips. Start vacuuming from the furthest side or corner and work your way out. Vacuum in slow, long, parallel movements back and forth. Make sure to overlap a portion of the next movement from the previous one to ensure that you don’t miss a spot. The back-and-forth motion on carpeted floors allows the carpet to get lifted, thus removing any embedded dust or dirt. This is particularly helpful in eliminating pet hair and dander if you have furry friends in your home.
4. Dust a Set of Blinds or Shutters
Start this by closing the blinds. For vertical blinds, gently wipe them down from top to bottom using a microfiber cloth. The downward motion prevents the blinds from getting unhooked. If you don’t have a microfiber cloth, you can use an old, clean sock as an alternative.
For horizontal blinds, wipe them from side to side. Start from the uppermost slat to the lowermost one to avoid dust from falling on the spots you have already cleaned. You can also use the soft brush of your vacuum attachment for this.
Flip the blinds and clean the other side by repeating the above steps.
5. Remove Expired Food from the Fridge or Pantry
Foods past their expiry date can develop mold, yeast, and bacteria, which are dangerous to your health.
Make it a common household practice to throw out spoiled food from fridges and pantries. Kids, or even adults, sometimes forget to check expiration dates before eating food. Managing your fridge or pantry is a way to prevent you and your family members from consuming spoiled food.
Remember to wash the containers or parts of the fridge where these spoiled items were placed. Do so to prevent the fresh items that you will add from getting exposed to the bacteria.
Packed and canned foods that are past their expiration dates should also be removed from the pantry.
6. Load or Unload the Dishwasher
When loading, make sure to place the plates, silverware, cups, pots, and other items on their designated racks. Sort them out and group items of the same kind. Unloading will be faster and easier since you tend to pick things up in groups, and put them away.
Also, unload the bottom rack first. Usually, when you pull out the top rack, water will spill from it, and it could wet the items below.
7. Clean Kitchen Countertops
A clean kitchen countertop keeps your food preparation safe and might even motivate you to cook!
Non-abrasive cleaners are best for countertops made from wood or marble. Using a soft cloth soaked in a mixture of water and mild soap works on marble or wooden countertops. Be sure to wipe the counters until they are dry.
Quick and regular cleaning of counters prevents stains from hardening that could make cleaning more difficult if not taken care of as soon as possible.
8. Vacuum or Sweep High-Traffic Areas
Your high-traffic areas are more susceptible to dirt and wear-and-tear. For instance, your entryway likely has more foot traffic and activity than some other parts of your home. Vacuuming or sweeping the floors of high-traffic areas on a regular basis, won’t take a ton of time.
9. Wipe the Stovetop
Just like with kitchen countertops, frequent cleaning of the stovetop is required. For both gas and electric stoves, first, wipe the surface of the stovetop with a damp cloth to collect the tiny bits of food or sauce that splattered from cooking.
Then, to eliminate any grease on the surface, clean it with either a commercial cleanser or use mild dish soap and a non-abrasive sponge.
10. Clean the Toaster
Cleaning the toaster is another one of the easy 10-minute chores. However, it is one that is often overlooked. Take a look at this quick, step-by-step process for cleaning your toaster.
11. Quick pick-up and return
Grab a hamper, walk around your home and see if anything’s been misplaced. And if so, return it to its proper place. Commonly misplaced items include shoes, keys, pens. This task is especially needed for tiny things that are hard to find. It only takes about a minute to pick up a specific object and return it to where it should be placed. This will create a home that is cleaner, and more organized. With this as a daily cleaning routine, you won’t have a hard time locating that specific object when you need it. You don’t need to answer the commonly heard question “Where did I leave my keys?” because now everyone knows where to find them.
Recap
The busyness of life doesn’t mean that you cannot stay on top of your cleaning.
Doing these easy 10-minute chores regularly will produce noticeable results. And, there’s the bonus of building good cleaning habits.
Carving out 10 minutes in your busy day is easier than you think.