How to Get Rid of Paper Piles Step-by-Step
Disclosure: This post contains affiliate links. For more information see the Affiliate Disclaimer.
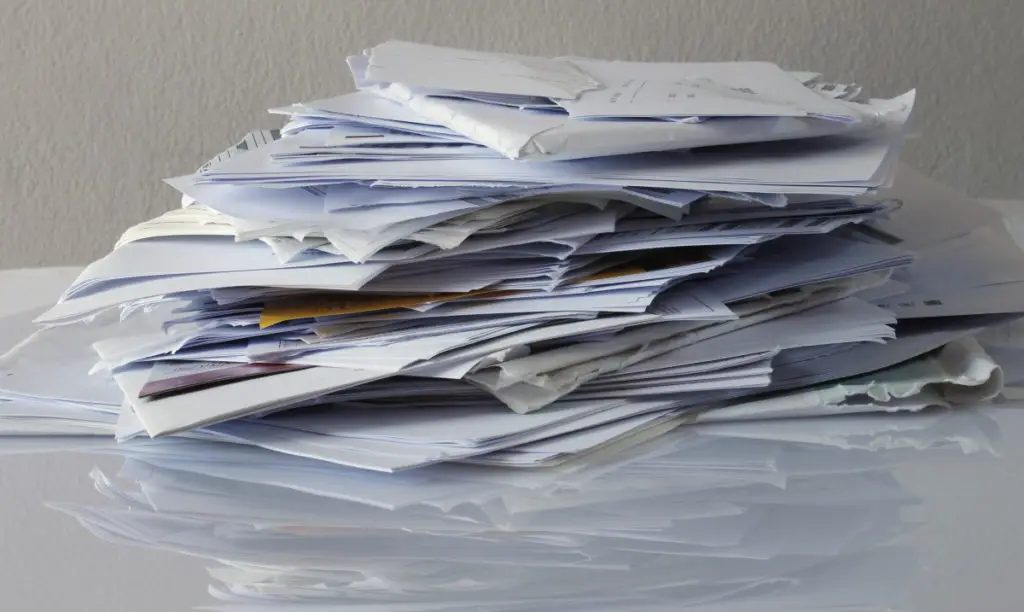
Are your paper piles a growing source of frustration, and do you feel overwhelmed by the thought of sorting through the piles?
Do not despair.
Whether you have stacks of paper buried in boxes, mounds of it on various surfaces, or even a small stack that you haven’t yet dealt with, we’ll take a detailed look at how to declutter your paper piles once and for all.
Let’s dive in.
Preparation
Before you start, you’ll need the following:
- Recycling bin for the paper that can be thrown out right away
- Box for the papers that need to be shredded, i.e., anything containing personal identifiers
- Container for papers that you will be keeping and need to be filed
- Surface space to sort the paper
- File folder for potential items to be actioned
*Label your containers to make sure that you don’t mix them up*
Do your best to protect your identity
As noted above, documents containing personal identifiers, are to be shredded. For instance, shred anything with your name, account information, date of birth, home or email addresses, signature, etc.
Perhaps you don’t have a shredder, have no intentions of purchasing one, and don’t want to use the old sharpie crossing-out method (which is tedious), there are several other solutions for shredding paper.
If you’re so inclined, there are plenty of shredding companies.
So, if you decide to go this route, do your research first.
In addition to pricing, here are a few questions to ask:
- Do the shredding services meet industry standards for secure destruction?
- Does the shredding take place onsite or offsite?
- If onsite, is there an opportunity to observe the process?
- Is a Certificate of Destruction provided?
On the contrary, there are less expensive options to shred paper. I came across a video demo illustrating a way to shred by soaking the paper in water, tearing it with your hands, and then forming it into paper balls, before disposing of it. I tried this method and it worked, however, I found it time consuming and prefer to use a shredder.
How to reduce overwhelm when decluttering your paper piles
Work with one stack of paper at a time.
If you’ve got a large pile of paper in a box, take out a manageable stack. By doing so, you won’t feel as overwhelmed, and you’ll be better able to concentrate.
It’s also necessary to set a time limit and manage your expectations. It’s unlikely that you’ll declutter all your paper in one sitting. It could take some time, depending on how much you have.
No worries, the more you do this, you’ll establish a rhythm. And ultimately, you will cross the finish line.
So, let’s get back to the time limit. Twenty minutes is a reasonable amount of time for each decluttering session. If you devote 15 minutes to sorting, you can spend the last 5 minutes tidying everything up.
This suggested timeframe is not too long so that you feel mentally drained afterward. And not too short that you feel as though you haven’t accomplished anything.
Do your best to stay focused. It’s easy to become distracted when sorting paper. You may come across documents that cause you to take a trip down memory lane or maybe even panic at something that hasn’t been actioned. Do not beat yourself up. Sort them and maintain your momentum. You’ve got to stick to the plan.
Where do you start decluttering papers?
Step 1: Prepare your surface and grab a stack of paper
Select your surface space. And have your containers nearby.
Grab a stack of paper. Remember, pick a manageable stack.
Place your stack of paper on the surface. You want to make sure that your surface space is large enough to hold everything. Or else they will fall on the floor. And this won’t encourage you to maintain your momentum.
Only keep the paper that you’re sorting through on this surface. You don’t want other unrelated documents to be included, as this may be confusing.
How do you declutter piles of paper?
Step 2: Sort and eliminate
Next, with the stack of paper on your surface space, start to sort. To quickly flip through the papers, consider using a rubber fingertip.
You’ll need to sort every piece of paper and determine whether or not you will be keeping it.
Trash goes straight into your recycling bin.
Documents with personal identifiers go into your shredding container.
Place the papers that you’re keeping, in the container for filing. Now, this is not the time to organize your filing and think about where specific papers are to be filed. This focus is on getting rid of the paper you no longer need.
It is possible that something needs to be immediately actioned. In those situations, place this in your folder labeled ‘to be actioned’ and keep going; you’ll get back to this when tidying up.
Step 3: Wrap up
Now, this step is critical. Tidy everything up!
Your recycling is easy – the papers are already in the correct container, so it may just be a matter of dumping them out into your larger recycling bin for curbside pickup.
Next, you need to shred what’s in the shredding box. Do this right away, or label it for external shredding, if that’s what you’re opting to do.
Once you complete the above, you’ll feel a sense of accomplishment. Think about it – there will already be less paper in your home.
If you’ve come across anything that needs to be actioned, place it in a visible location to ensure that it doesn’t get overlooked.
Now, what about the filing?
There are a few different schools of thought when it comes to this.
I prefer to file immediately after recycling and shredding. For me, the filing represents completion of the task. Remember, the reason for decluttering in 20-minute sessions is to reduce feelings of overwhelm and have some bandwidth to tidy up completely afterward.
However, there is a possibility that you may not have the time or mental fortitude to take care of the filing right afterward, especially if it’s been some time since you’ve tackled paper clutter.
Here are some suggestions:
- Do your filing once you’ve decluttered all of your paper – you may find that certain documents will not need to be filed once you take a second look at them and it will be another chance to recycle or shred
- Spend a few minutes doing your filing at the beginning of your next paper decluttering session
Step 4: Repeat
Grab another stack of paper and follow steps 1 through 3.
Consistency is key to eliminating your paper piles, so if setting a calendar reminder to take care of this is what will help you to persist, then do so. After a while, you will develop a habit of managing your paper.
Recap
Breaking up your work into manageable chunks paves the way for success.
You can repeat these steps several times in a day or pick it right back up on another day.
Keep at it, and in short order, you will be well on your way to eliminating your paper piles and saying goodbye to paper clutter.