Time to Declutter Your Bathroom

Picture yourself entering your freshly decluttered bathroom.
It’s Organized. Clean. And functional.
Not to mention it’s now conducive to an improved morning routine, and calmer space.
Now, that’s what I’m talking about. Consequently, it’s the outcome you can expect when you declutter your bathroom.
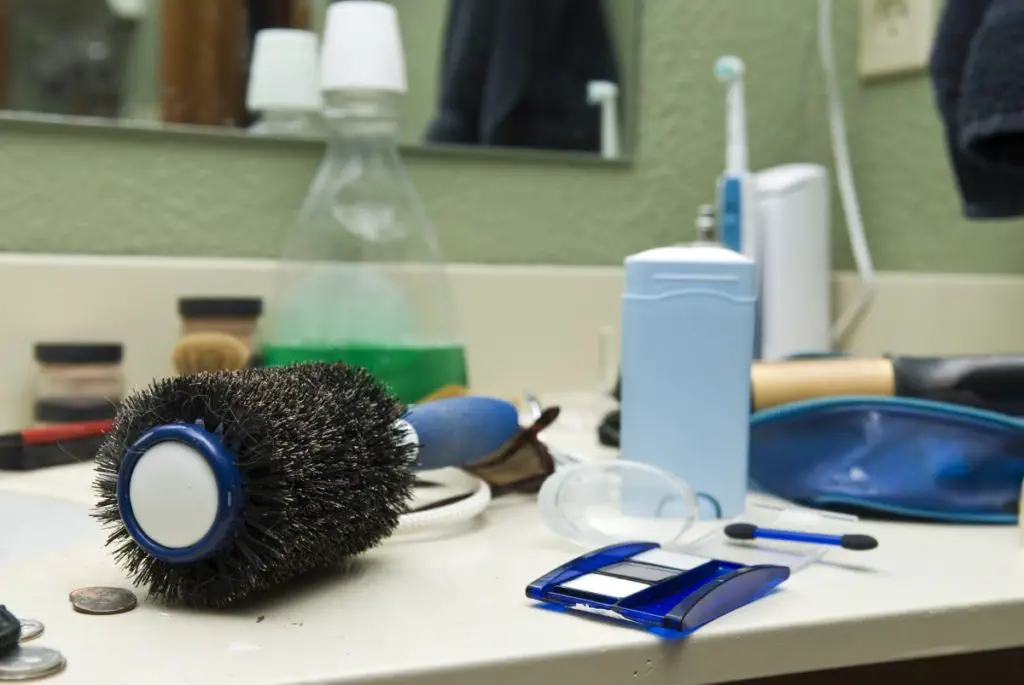
After all, this is one of the high traffic areas in your home. And, clutter adds to overwhelm.
In short, if your bathroom counter is overflowing and the cabinet underneath the sink is messy, it can make getting ready in the mornings hectic. Or, make it difficult to wind down in the evenings.
So, when you take the steps to declutter your bathroom, you can make better use of the space you have, find what you’re looking for with ease, and know how many bottles of shampoo you actually have.
Anyhow, it’s time to tackle this.
Ready to declutter your bathroom?
Let’s do this!
What You Need
In order to prepare yourself in advance for the purge, here are a few basics:
- Microfiber/cleaning cloths and all-purpose cleaner to wipe down the counter space and cabinets, drawers, etc.
- Trash bag because there’s bound to be stuff to throw out.
- Recycling bin for the cardboard, packaging, empty bottles, etc., that you may come across.
- Donation bag for the unused, unopened products and samples, that have not expired, and you won’t be using. These can be donated to places such as women’s shelters or homeless shelters.
Prepare Your Surface
To begin with, place an old blanket or large towel on the floor. This will be your sorting area.
And, divide your tasks into these separate areas:
- Counter space
- Cupboards and drawers
- Medicine cabinet
- Shower area
You’re going to sort one area at a time, instead of dumping the whole kit and caboodle onto the floor.
As this would likely be too overwhelming.
Also, you might only have time for one area, such as the counter and that’s okay. Remember to schedule time to complete the next area and so on, until the whole bathroom is done.
Once you declutter an area, wipe it down and clean it thoroughly, before putting items back.
Counter Space
Initially, place the items from your counter onto your sorting area.
And while going through your sorting area, group similar items together disposing of any trash.
As a rule, keep as little as possible on your counter. It goes without saying that clutter-free counters are easier to keep clean and look tidier, overall.
At the end of the day, you want to have quick access to your essential items.
Indeed, your toothpaste, toothbrush, and soap, to name a few.
Incidentally, soap dispensers are not as messy as soap dishes. And, there are many to choose from to complement your décor.
Now, if you prefer to keep your daily cosmetics on the counter, corral them in a see-through container for easier access.
Once you’ve decided what will be housed on the counter, make sure that it’s clean. Therefore, use your all-purpose cleaner and microfiber/cleaning cloth.
Then position your items in a way that works for you.
Cupboard and Drawers
Once again, take everything out and place the items in your sorting area.
Next, group similar items together: hair products, skincare, soaps, etc. And, then assess what you will be keeping, throwing out, and donating.
We’ve all got stuff that’s been in the back of the cabinet for far too long that we used maybe once, or, perhaps not at all. These items have likely passed their expiration date and can be trashed.
Now, when it comes to donating items, you want to make sure that the products have not expired. So, perhaps you have some recent unopened samples or multiples that could be donated to a women’s shelter.
With this in mind, see the information in the chart below for guidelines on product expiration dates.
| Item | How Long It Lasts |
| Bar soap | 18 months to 3 years |
| Bath oil | 1 year |
| Body lotion | 3 years |
| Body wash | 3 years |
| Concealer | 1 year |
| Cream blush | 1 year |
| Deodorant | 1 to 2 years |
| Depilatories | 6 months |
| Disposable razors | Every 5 – 7 shaves |
| Eye cream | 1 year |
| Eyeliner pencil | 2 years |
| Eye makeup | 6 months |
| Eye shadow | 1 year |
| Face cream | 2 years |
| Foundation | 1 year |
| Hairbrush | 1 year |
| Hair gel | 2 to 3 years |
| Hair spray | 2 to 3 years |
| Lip balm | 1 to 5 years |
| Lip gloss | 1 year |
| Lipstick | 2 years |
| Liquid eyeliner | 3 months |
| Loofah | 6 months |
| Makeup sponge | 1 month |
| Mascara | 3 months |
| Medications | Check your labels |
| Mouthwash | 3 years from manufacture date |
| Nail polish | 1 year |
| Nail polish remover | Indefinitely |
| Perfume | 1 to 2 years |
| Powder blush | 2 years |
| Shampoo & conditioner | 2 to 3 years |
| Shaving cream | 2 years |
| Sunscreen | 3 years |
| Toothbrush | 3 months |
| Tooth-whitening strips | 13 months |
Source: https://www.realsimple.com/home-organizing/makeup-expiration-dates-guide
It’s important to keep in mind that accessibility is key for a functional bathroom.
And storing your items and products in containers makes it easier for you.
For example, have a designated container for your hair tools and daily-use hair products that you can grab and use in the mornings, or, a drawer divider specifically for your eye makeup. This will cut down on the time spent searching for these items when you need them, which saves you time in the long run.
Additionally, whatever you’re not using regularly, store them towards the back of the cabinet and you’ll know where they are when it’s time to retrieve them.
Also, label your containers and you’ll always know what’s in them.
Medicine Cabinet
Remember to go through your medicine cabinet when you declutter your bathroom.
Moreover, take stock of what’s in there and make sure to purge any old medication or vitamins. Ensure that you dispose of them according to your local guidelines.
To stay organized, designate your shelving based on medication and supplies.
This is a good place to store items such as nail clippers, eyeglass repair kits, tweezers, cotton balls, Q-tips, floss – items that are often hard to locate when you need them.
Shower Area
Basically, remove all the items you use frequently and place them in your sorting area.
Start with the trash – it’s always easiest to get rid of this first.
You may have some empty bottles of shampoo, conditioner, body wash, etc. Make sure they’re recyclable by checking the labels and if so, drop them in your recycling bin.
When you’re putting things back, only keep one bottle of body wash, shampoo, and conditioner in your shower area. And store any extras in your cabinet in a designated container.
Recap
Keep these in mind when you declutter your bathroom:
- Divide your bathroom into these 4 areas: counter space, cabinet and drawers, medicine cabinet, and shower area.
- Sort the items in each area.
- Group similar products together.
- Dispose of trash first.
- Donate samples, multiples, or anything unopened that you will not use, provided that these products have not expired.
- Ensure easy access to the most frequently used items.
- Store products and items in containers to minimize clutter.
Related Posts
How to Set Up and Organize a Bathroom Cleaning Caddy
