Clean Your Washing Machine in 4 Easy Steps

If you’ve ever asked yourself, “Why does my washing machine smell?” you wouldn’t be the first.
The grime from our dirty clothes, linen, etc., goes somewhere. And invariably, a build-up of this dirt inside the washing machine takes place.
So, if you don’t clean your washing machine regularly, the question, “Why does my washing machine smell?” makes sense.
This chore is not to be overlooked. After all, in many cases, the washing machine is used almost daily, so it only makes sense to keep it clean.
A clean washing machine means cleaner clothes and a fresher-smelling laundry room.
Plus, it’s one of the ways to extend the life of your appliance. Here are a few others.
Now, perhaps your machine is a self-cleaning one. If that’s the case, select the respective option once you’ve reviewed the instructional manual.
If on the other hand, your washing machine is not self-cleaning and you’re unsure how to clean it, don’t worry, we’ve got you covered.
Materials
Here’s what you’ll need:
1. Baking soda
2. White vinegar
3. Dish detergent
4. Sponge
5. Old toothbrush
6. Microfiber cloths
Now, let’s look at the step-by-step instructions on how to clean your washing machine.
Step One: Remove any laundry from the washing machine & wipe the exterior
Empty your washing machine by taking out any laundry that may be in there.
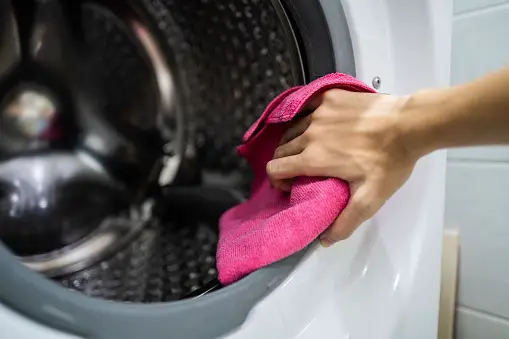
Once the machine is empty, wipe the exterior using a damp microfiber cloth. Soak the cloth in water and mild dish detergent to remove any dirt or grime that may have built up on the outside of the washing machine.
Step Two: Clean the gasket and door
The door gasket is the seal around the door of your washing machine that helps keep water from leaking out. The seal can be made of fiber glass, rubber or another type of material.
Over time, the gasket can become mildewed and grimy, which can lead to problems with your washing machine’s ability to properly seal in water.
To clean it, simply mix equal parts white vinegar and water and use a sponge or an old toothbrush to scrub away any dirt or grime. Once you’re finished, dry the door gasket off with a clean microfiber cloth.
Remember to clean the door as well, using the same vinegar and water mix.
Step Three: Clean the interior
Now it’s time to move on to the interior of your washing machine. For this part, you’ll need two cups of baking soda and two cups of white vinegar. Add the baking soda directly into your washer drum and pour the vinegar into the dispenser for the detergent. Close the door and run a hot water cycle.
Once the cycle is complete, run another hot water cycle to rinse away any residue that may be left behind from the baking soda/vinegar mixture.
When that’s finished, it’s time to get scrubbing! Grab a sponge and some white vinegar and give the inside of your washer a good once-over, paying special attention to any areas that look dirty or stained. Remove the dispenser and clean that out and if your machine has an agitator, wipe that down as well.
Once you’ve removed all the dirt and grime, wipe down the washing machine tub with hot water to remove any vinegar residue.
Step Four: Give the Knobs and Buttons a Good Wipe Down

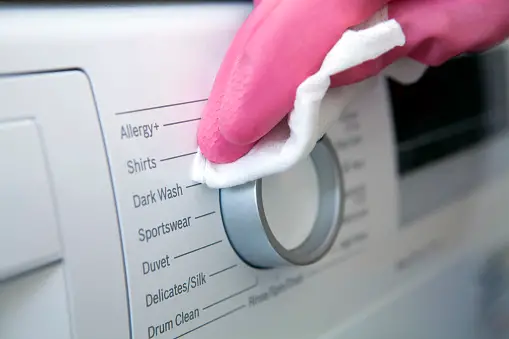
While you’re at it, don’t forget to clean the knobs and buttons on your washing machine with a damp microfiber cloth—grime can build up there, too!
Maintenance
- Clean your washing machine once per month, at minimum
- Leave the door of your washing machine slightly open when not in use to increase airflow and limit the growth of bacteria
Recap
Now that you know how important it is to clean your washing machine and how doing so will prolong its life. On top of that, it’s easy, so there’s no excuse not to get started today.
Keep in mind that a bit of preventative maintenance goes a long way toward staving off big repair bills down the road.
Why not set a monthly reminder on your phone or calendar so you don’t overlook this necessary task in the future?
With just a little bit of time and effort, you can take better care of your washing machine – and extend its lifespan.
What are you waiting for? It doesn’t take long, and your clothes will thank you for it!
Related Posts
Save Time Doing Laundry: Here Are 5 Ways